How to Make a Picture File and Why it’s an Important Teaching Tool by Marilyn Buehrer, Teacher
A picture file is a file box filled with beautiful photos that represent anything you are teaching about. These beautifully mounted photos are ideal visual aids to accompany and enhance the supplemental workbooks offered on this website. Whether it’s turtles, tortoises, snakes, tropical birds, tropical trees and foliage, flowers, or people, colorful visual aids will give children an authentic look at what they are studying. Instead of relying on drawings and cartoons, it’s important that students see realistic photos of what they are learning about.

In my teaching experience with elementary, middle, and high school students, every time I had a lesson to teach, I was able to pull out several pictures related to that subject for my students to see what I was talking about. Propping them up on the chalk tray of your white board works well, or create a bulletin board with them.
A person will remember 10% of what s/he has heard, 60% of what s/he’s heard and written down, and 90% of what s/he’s heard, written down, seen, and done.
This means that adding visual aids and practice (students taking notes) to what I verbally taught, enhanced my teaching and the students’ learning. My students remembered the information. Every age group benefits from visual aids.
It took me about two months to cut out and mount 200 pictures. Once I got started, it was hard not to get carried away! Two hundred pictures sounds like a lot, but it’s very easy to surpass that number.
Materials needed:
- Tagboard. 200 sheets of 9” x 12” white tagboard are available at school supply stores and art stores.
- Rubber cement. A large can of rubber cement. NOTE: Elmer’s glue, homemade paste, staples, and tape will not do for this project. Rubber cement doesn’t ripple and warp the pictures as it dries. It’s also neat to work with since it rolls right off your hands. Spray adhesive works also, but it makes cloudy fumes. When using rubber cement, always work in a well-ventilated area. Leave the doors and windows open in the room you’re working in, or take your work out to a sun-sheltered porch.
- Donated magazines, outdated calendars, posters, and travel brochures. I got grocery bags full of magazines from neighbors willing to part with them for a good cause. Other good sources are thrift stores and used book stores. Photos of animals and plants can be found in science magazines, National Geographic, and Smithsonian. Photos of household items can be found in home and architectural magazines. Photos of plants, flowers, and trees are in garden and landscape magazines.
What to look for:
Look for large, clean, clear, colorful photographs in the following categories. These are just suggestions. You might choose to limit your search to just one subject matter such as birds or reptiles.
- Reptiles
- Birds
- Fish
- Insects
- People
- Everyday personal and household items
- Modes of transportation
- Furniture
- Landscapes
- Bodies of water
- National symbols of the U.S. and other countries
- Sports
- Flowers and trees
- Wild animals
- Domestic animals
- Art such as the Old Masters
- Mosaics
- Pottery
- Sculpture
- Architecture
- Perspective/line
- Color
Directions:
- Carefully tear the photos out of the magazines.
- Using a pair of paper scissors, neatly trim the edges of the pictures, leaving a sixteenth-inch white border whenever possible.
- Use a paper cutter if necessary to get the straightest edge possible.
- Clear off a wide, flat space in your house such as the kitchen or dining room table.
- Cover the entire table top with a thick layer of newspapers. This is so the top layers can be rolled up and removed to continually reveal a clean working surface throughout the mounting process.
- Turn the trimmed photos over and brush rubber cement over the entire backside of the picture. Rubber cement dries quickly, so work quickly.
- Turn the picture over and carefully lay it on the sheet of tagboard. Leave a wider margin of white tagboard at the bottom edge than at the top, just as if you were framing the photograph. Not all photos will have a white margin because they will fill the entire tagboard space, and that’s okay.
- Use one hand to hold the photo in place and the outside edge of your other hand to spread the picture down and force any excess rubber cement out from under the photo. The great thing about rubber cement is that as it dries, it rolls up into gummy balls that easily come off the tagboard and leave no residue or marks.
- Work all the bubbles out from under the photo. Use a straight pin to prick any bubbles that refuse to be worked out.
- If rubber cement gets on the photo itself, leave it there until it completely dries, then use your clean, dry finger and a light touch to carefully roll the dried, rubbery adhesive off the photo.
- Lay the finished pictures on a flat surface to dry. Leave them there for a couple of days. If you stack the finished pictures right away, they’ll bond to one another, and you’ll never be able to pull them apart without ruining them.
- Finally, store the finished photos in a plastic, portable storage box with a lid that has a handle (available at office supply stores). This will keep your pictures portable, dust free, and looking like new for many years.
You can also use these pictures to decorate your classroom, create bulletin boards, and as creative writing prompts.
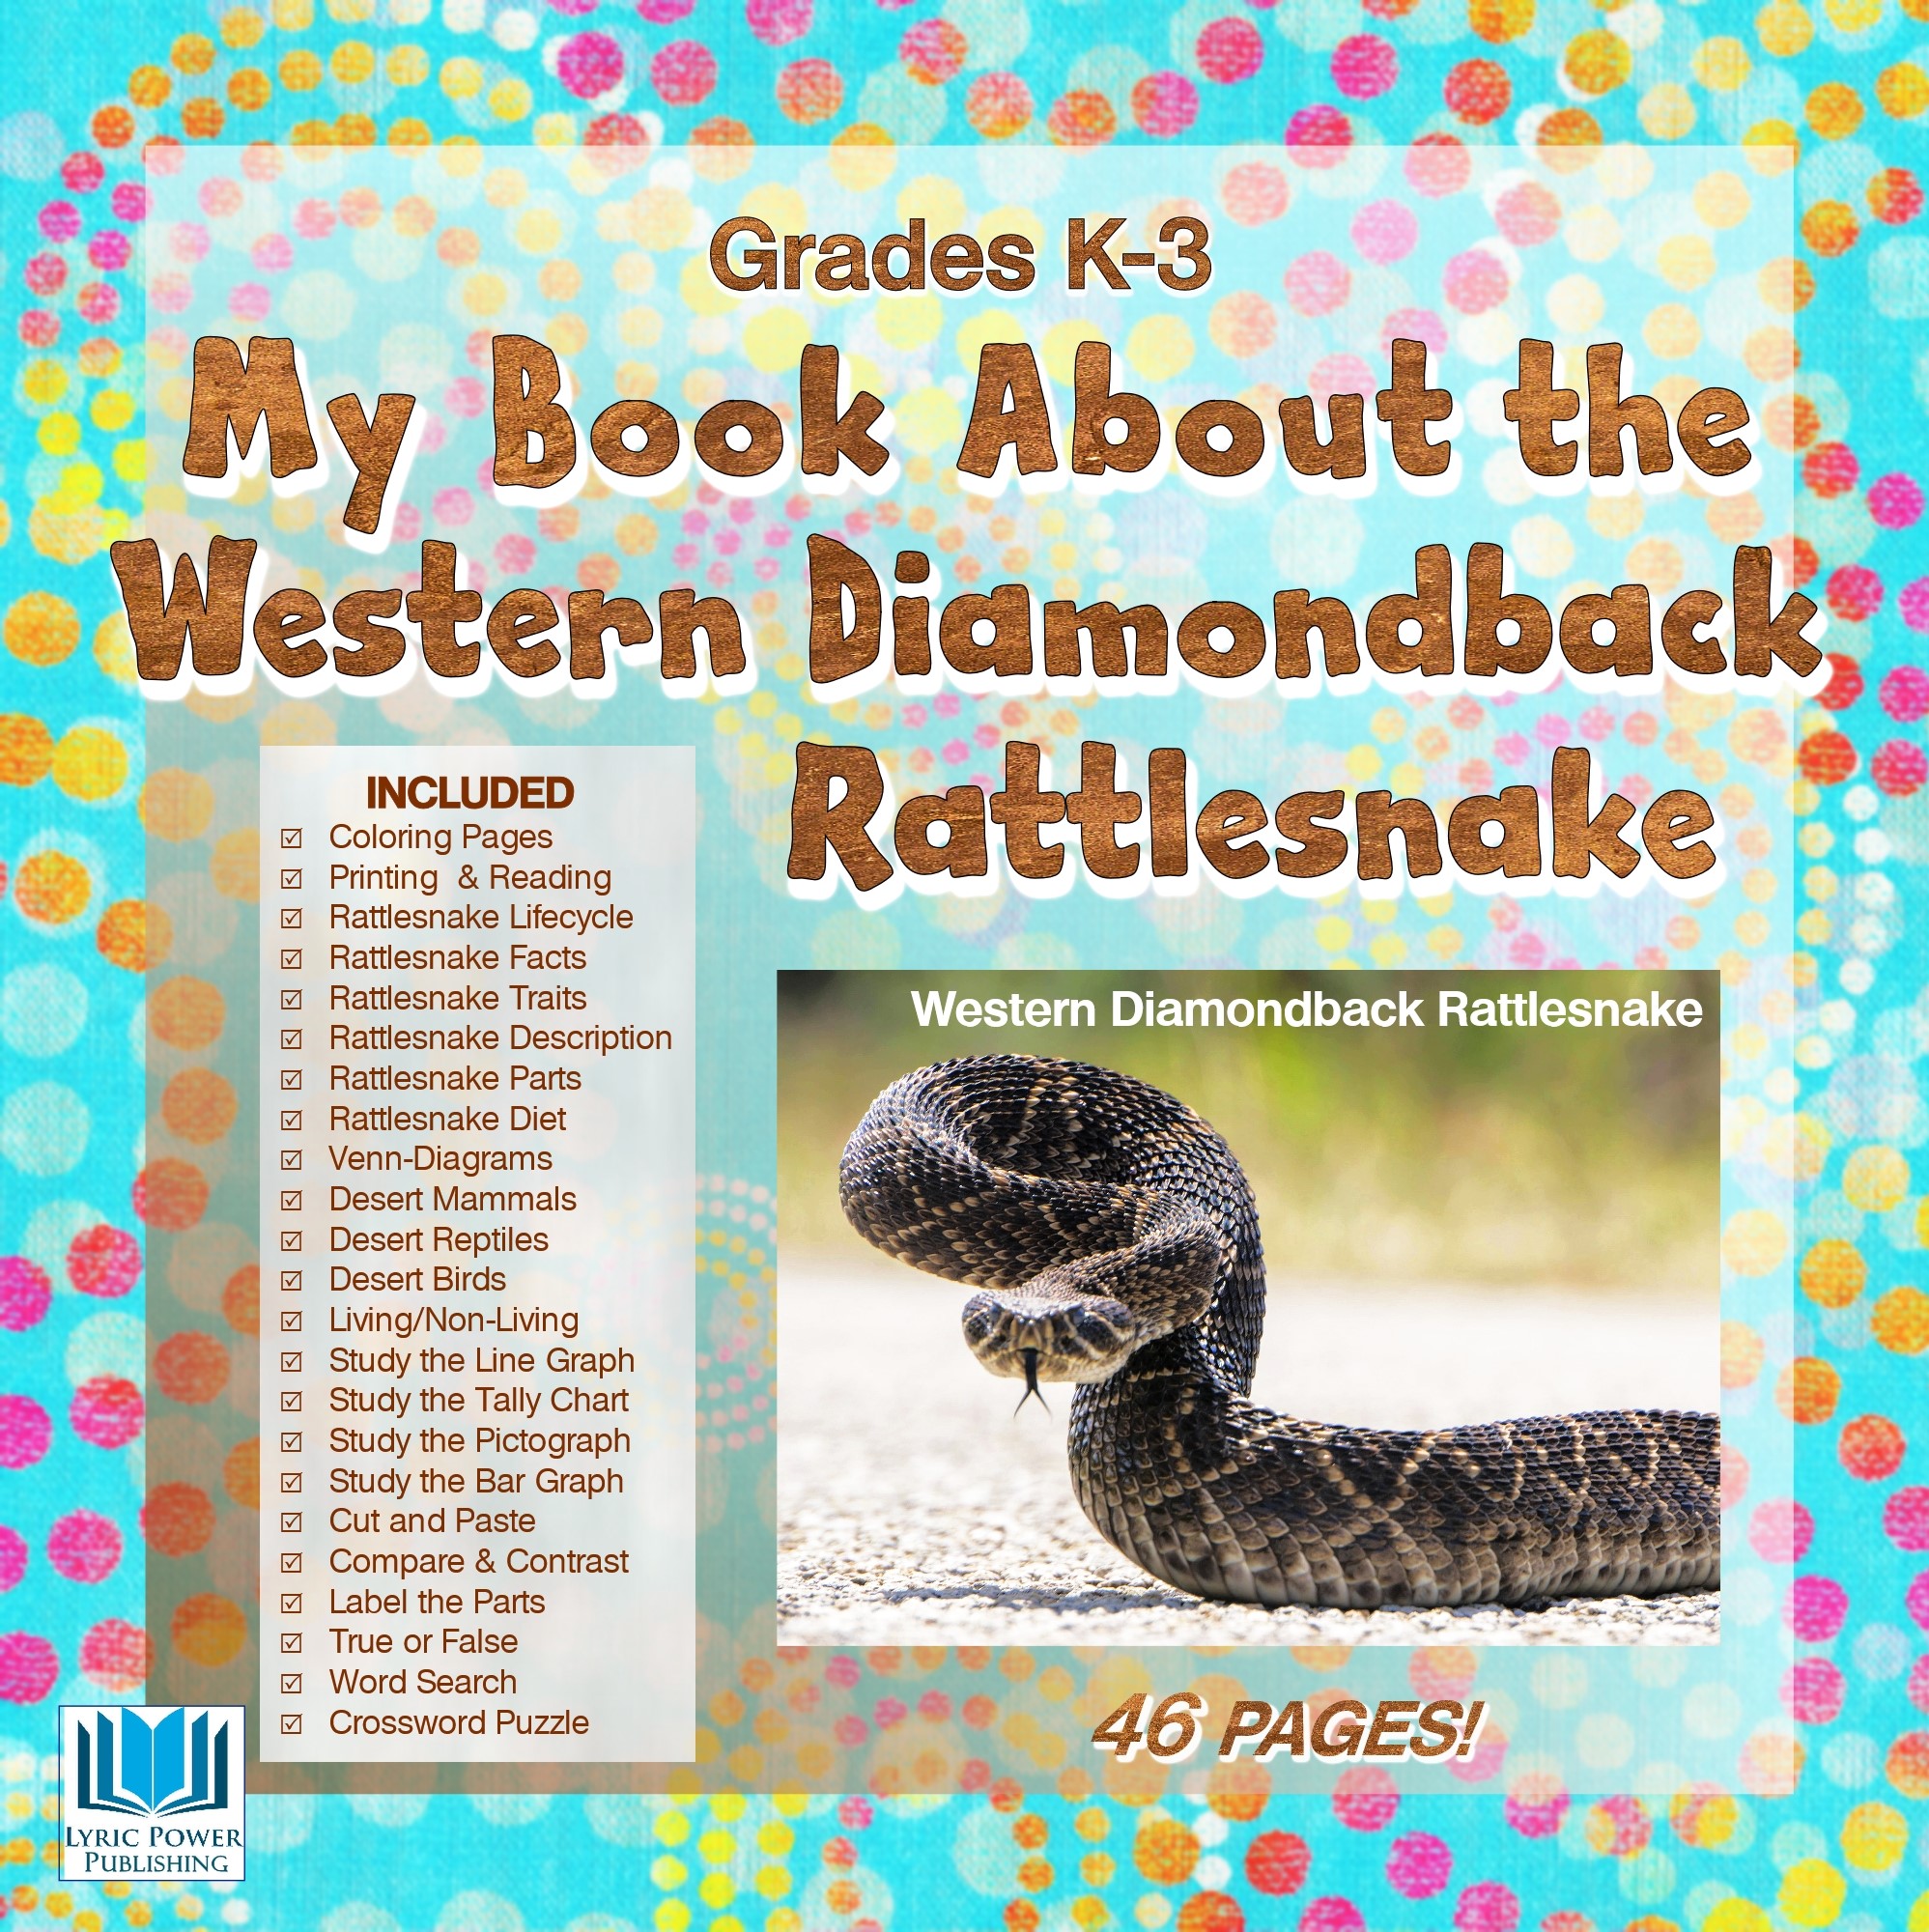
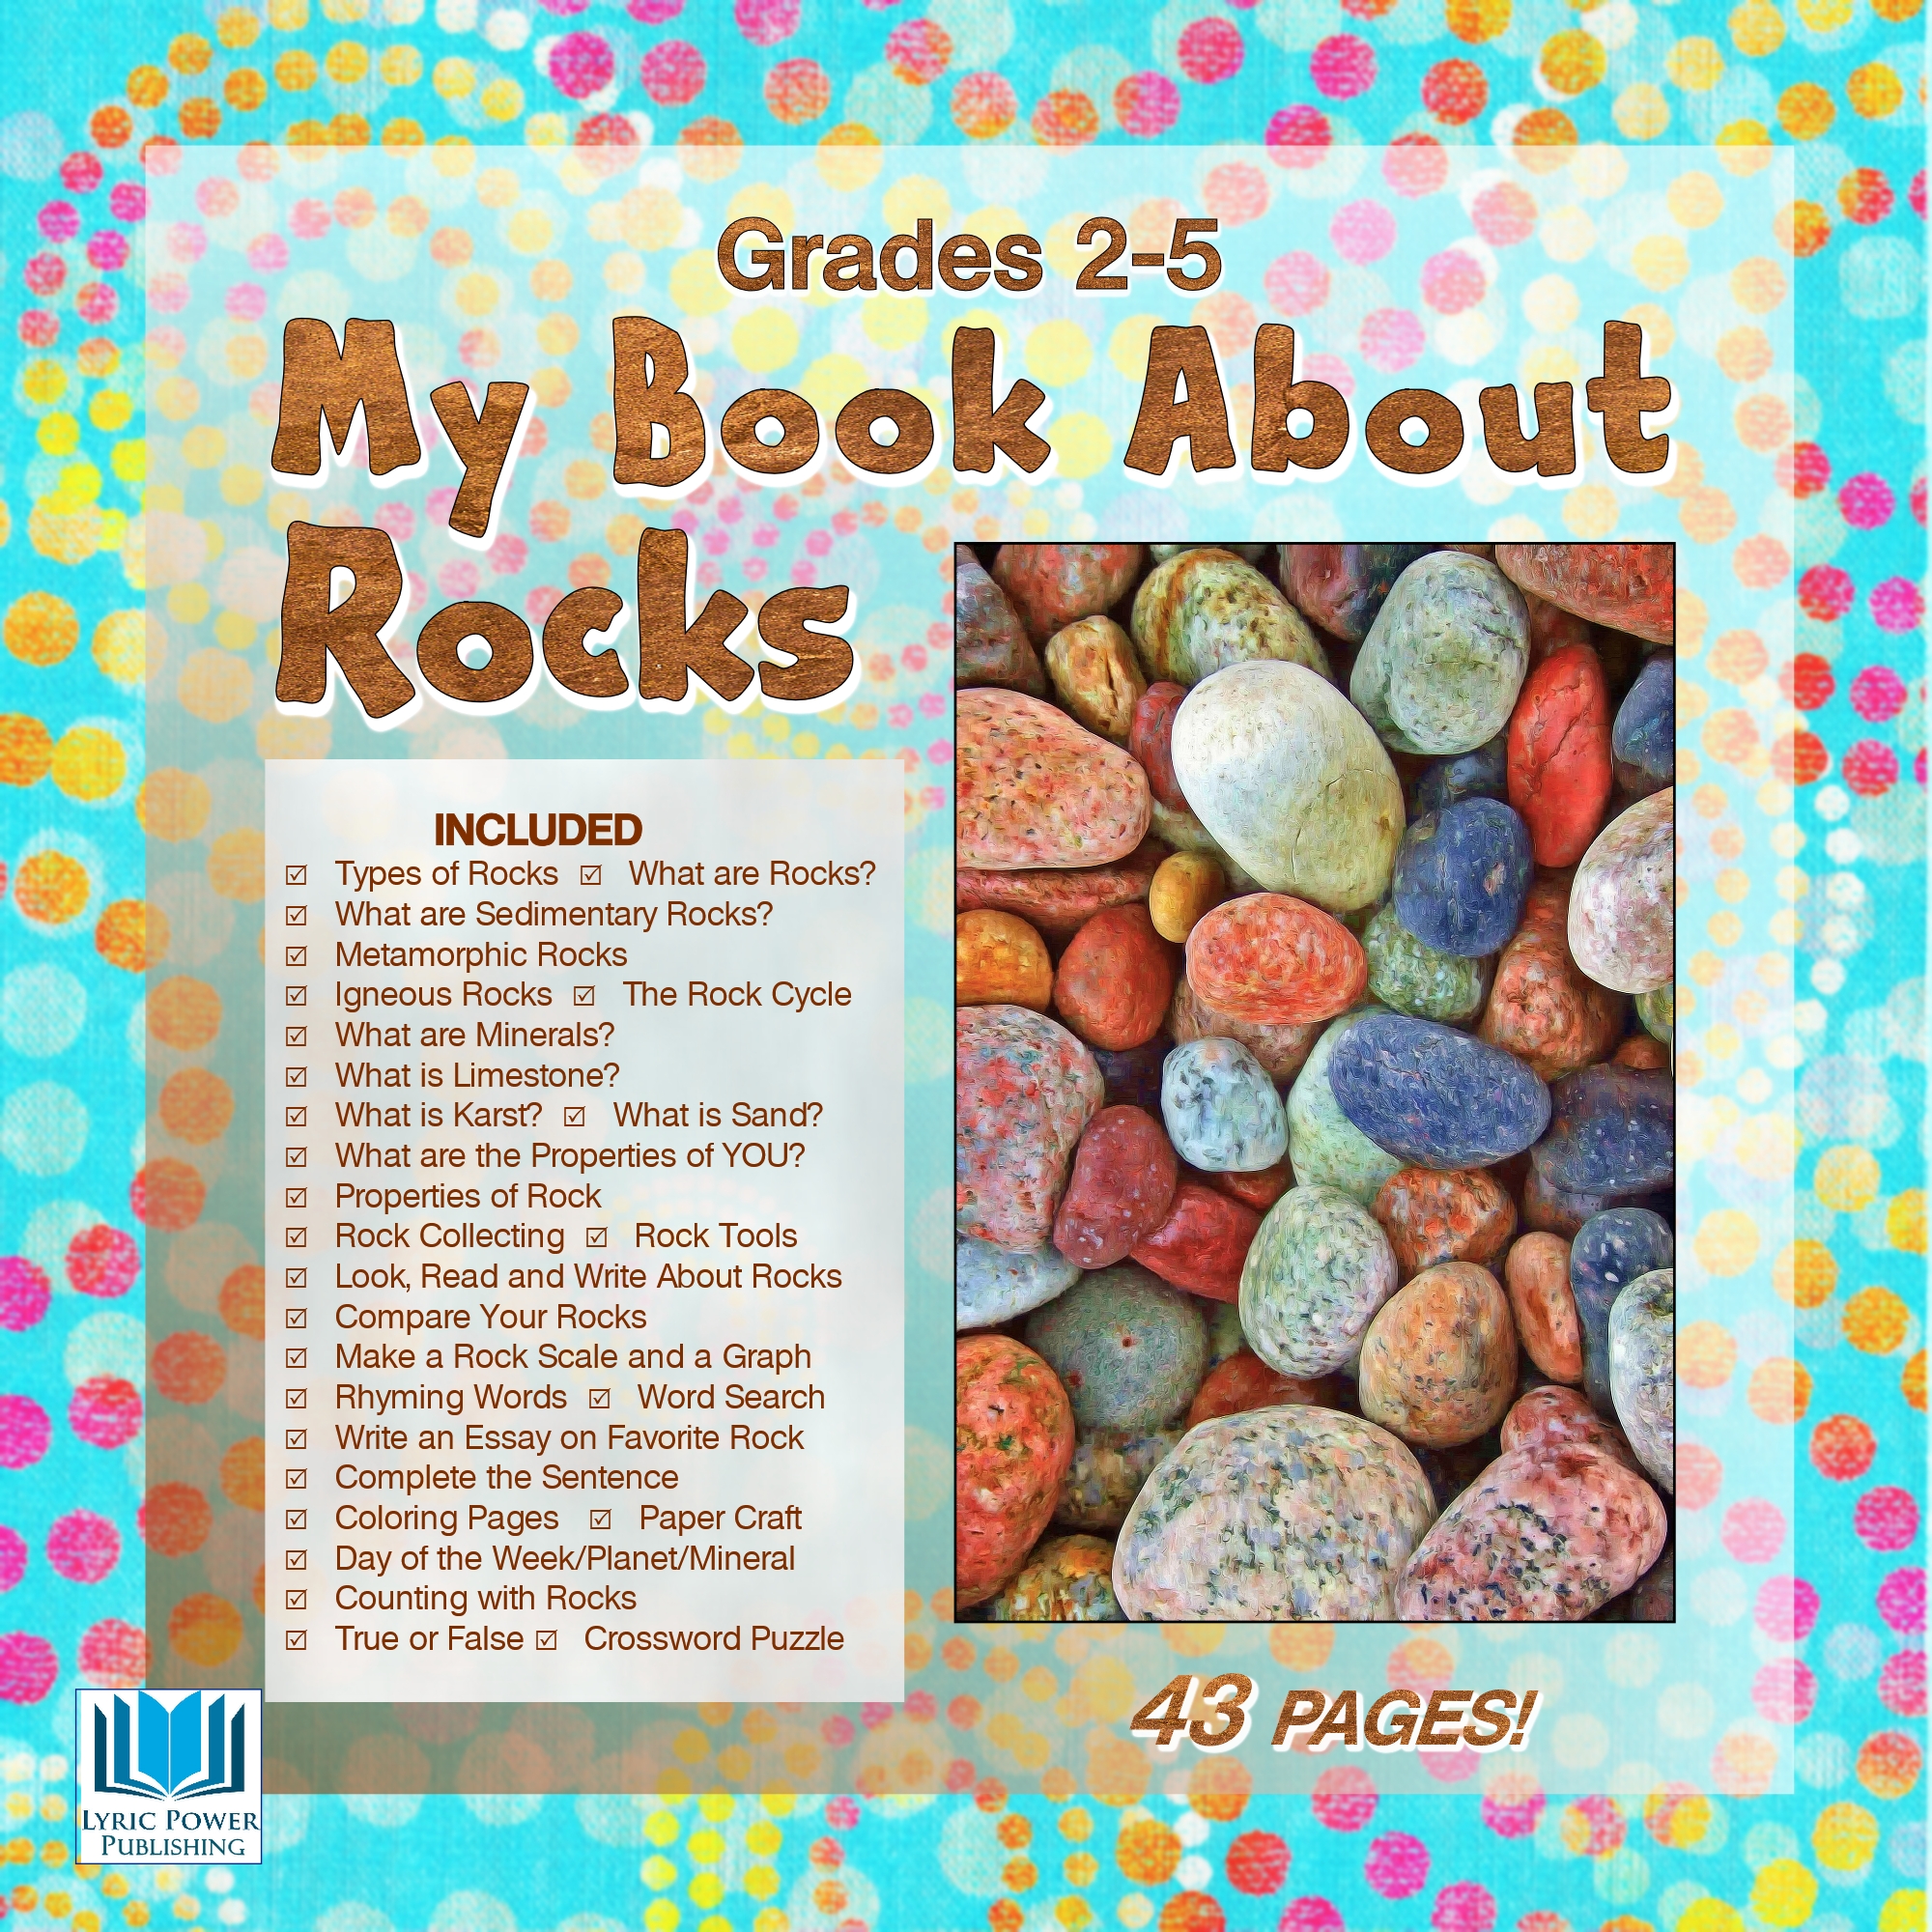
LYRIC POWER PUBLISHING offers 23 affordable, comprehensive, supplemental Workbooks for Teachers, Tutors and Home-Schooling Parents. Each WORKBOOK has a theme and can include pages for reading, writing, spelling, vocabulary and math, along with Venn-Diagrams, life-cycles, fact sheets, coloring pages, puzzles, connect-the-dots, word searches, mazes, label-the-parts, cut-and-paste, true or false, fill-in-the-blanks, match the pictures, greater than/less than, count-and-classify and graphing.

To learn about our latest science-based children’s books and workbooks, to read our latest blog posts about reptiles, birds, cats, and gardening, in a variety of locations, and about how the books come to be, what inspires an author to write, and many more interesting aspects of the publishing business, fill in the box below and we will add you to our email list.
Thank you!


